Create shipment labels for any kind of service.
Preferably (or mandatory if a service requires it) you also want to add:
Optionally, depending on destination, you also need:
Most used services:
Important notes:
To create a shipment in DPD Shipper, click on “Shipments” in the left pane and then on “New shipment order”.

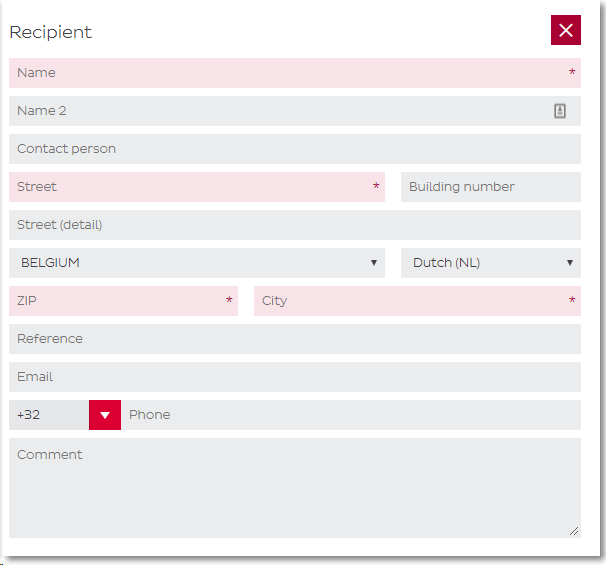
Here you can enter all recipient details. If you want to send a B2C shipment with predict notification, the e-mail address or mobile phone numberare mandatory. By default, Shipper is set up so your receiver is saved from the first time you create a shipment towards him or her.
Tip: The field name acts as a search field. Once you have entered 4 characters, the application searches in your list of recipients. If you have already sent to this recipient before, all information will be filled in automatically.
Here you can check extra services such as Saturday delivery or standard return label with your shipment.
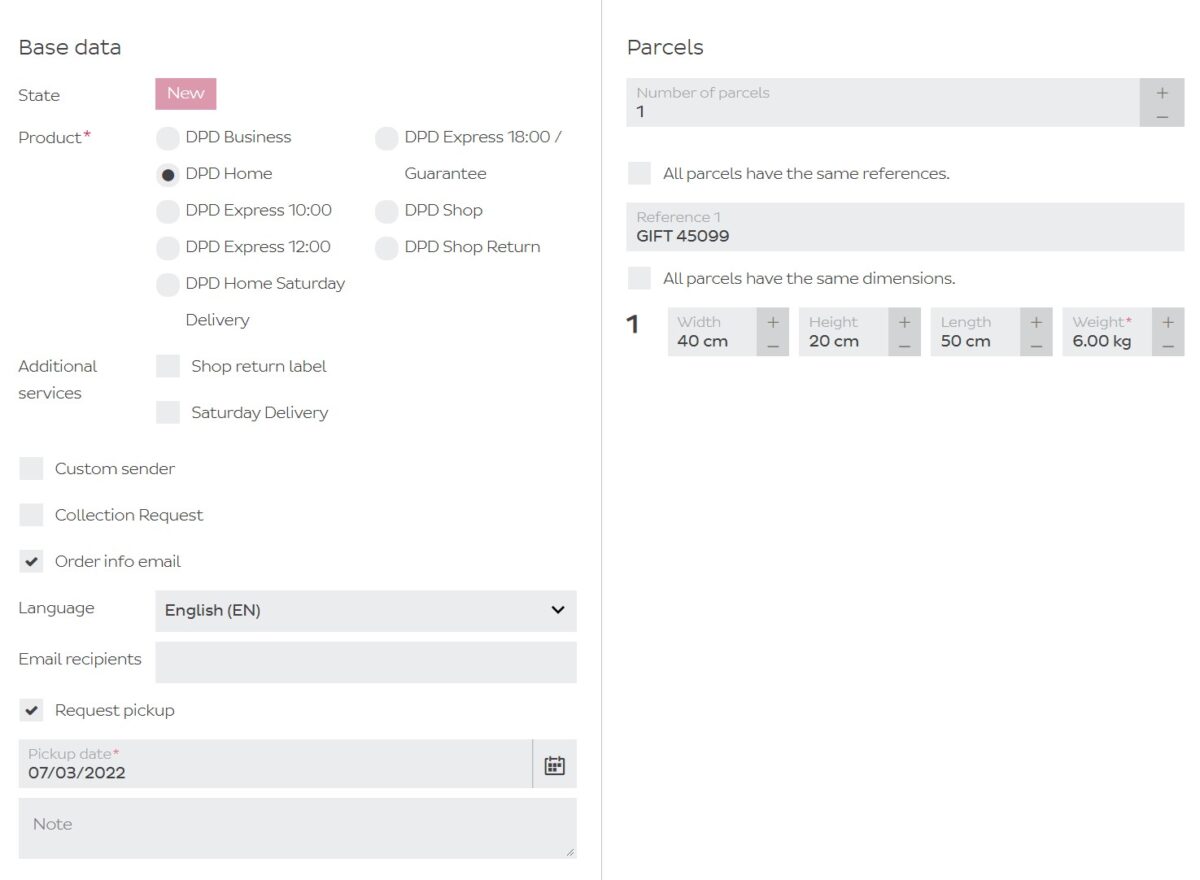
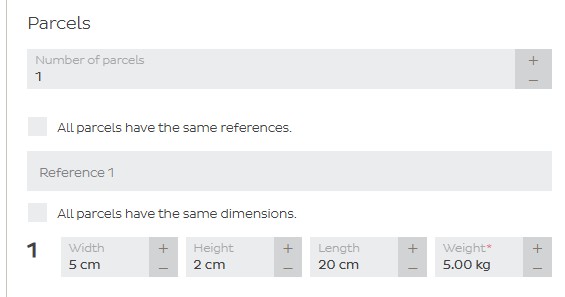
Here you can enter the details per parcel
When all required fields are filled, the action buttons at the bottom will become available. If these remain inactive then there is a required field uncompleted. Check if there are still red (mandatory) field left to complete.

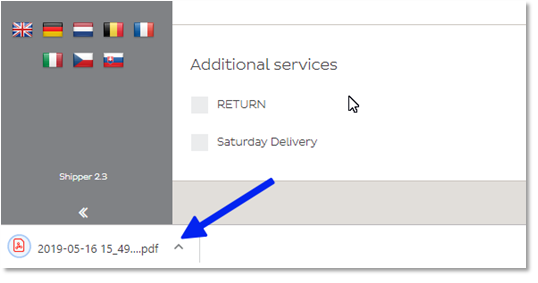
Printing a shipment is always to PDF. Your browser will create a PDF and download it. You will have to open it in order to print it. In Chrome (recommended) you will find this in the bottom of your screen.
The label will be displayed and you’ll be able to print it.
To change the format of your label (A6 or A4), please refer to the settings screen.
After creating your shipping labels and orders at end of day, it is advised to go through the daily procedure. This is to guarantee a clean way of working and allows you to print a shipment list. Your shipment data will already be processed as soon as you print a label or request a pickup.
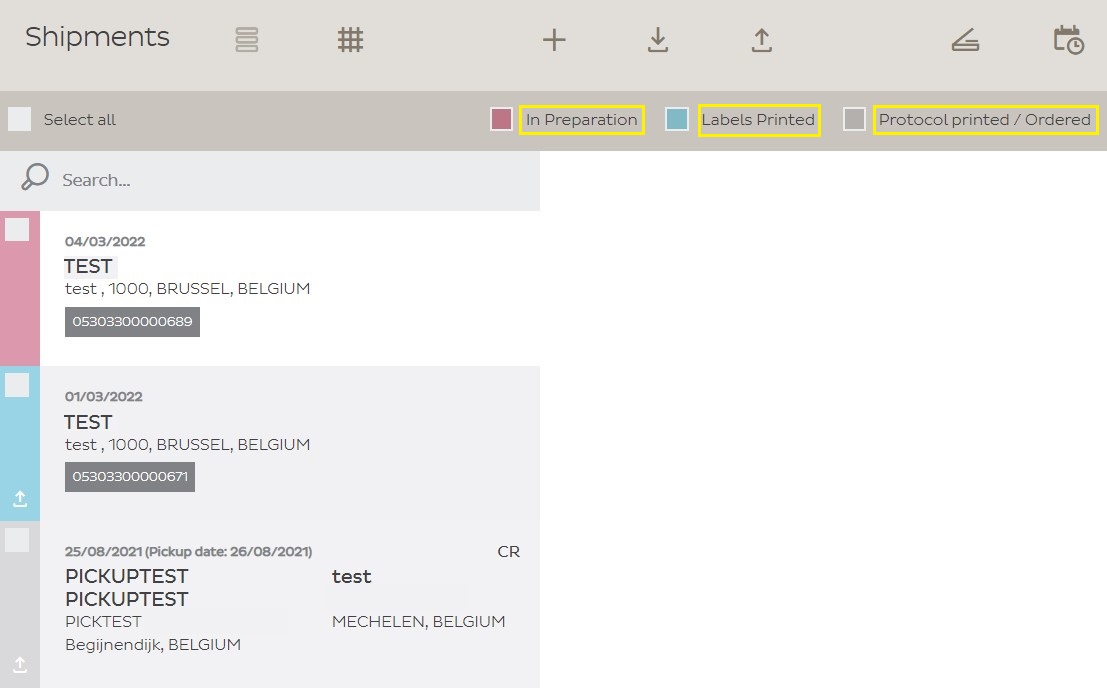
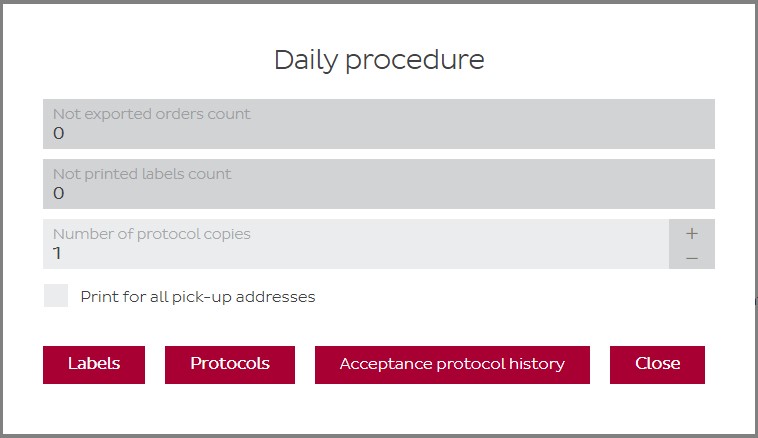
For the daily procedure for shipments, click on “Daily procedure”.

In the popup window that opens you will see the following buttons:
In Shipper, you can set fixed values for the HMRC, VAT and EORI number of the Sender (that means you). The system will then automatically fill in those fields when making a shipment to the United Kingdom after Brexit.
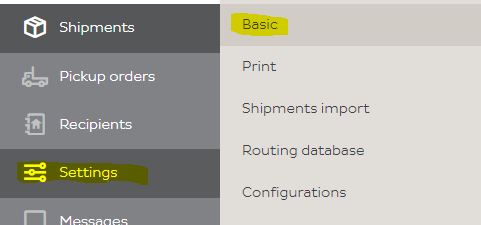
Go to Settings then Basic
Here you can fill in
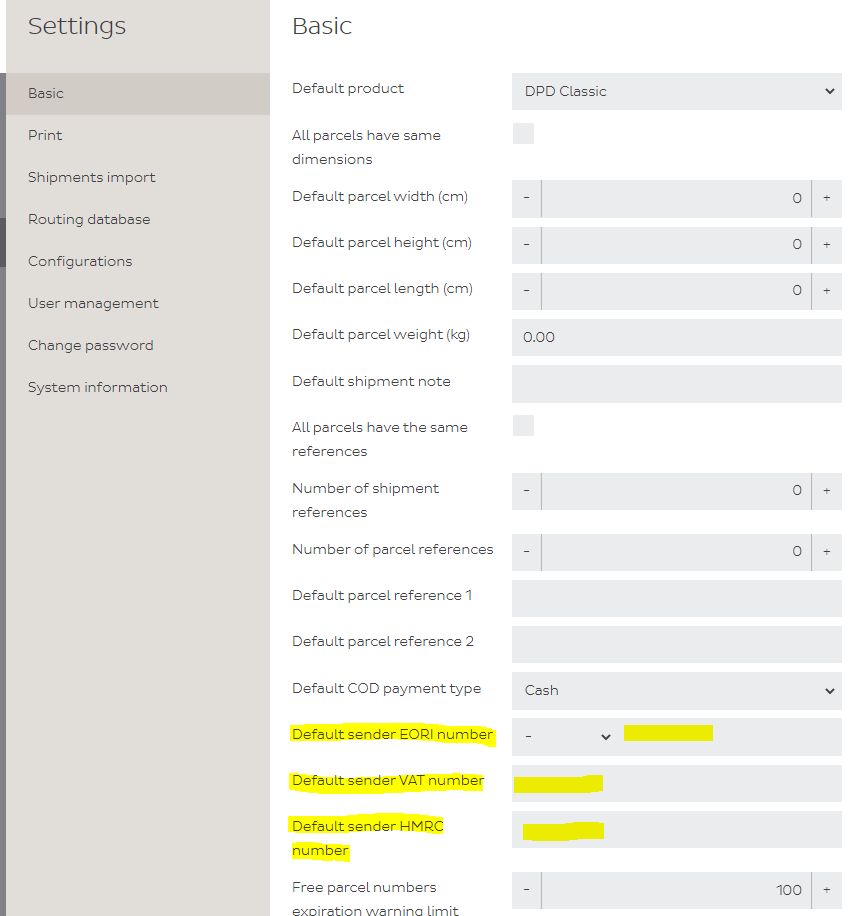
Once finished, please click the Save button on the bottom.
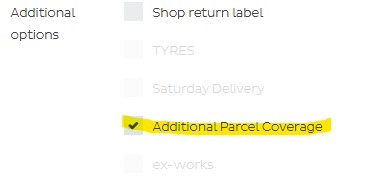
DPD Shipments can receive an Additional Parcel Coverage. The conditions for this option are beyond the scope of this page, but can be found on our website. This section will only focus on how to activate this option.
Additional Parcel Coverage is not a service code on itself. Instead, it’s an extra option you can select along with another service code. You can for example create a regular DPD Business shipment and add Additional Parcel Coverage as an option to it.
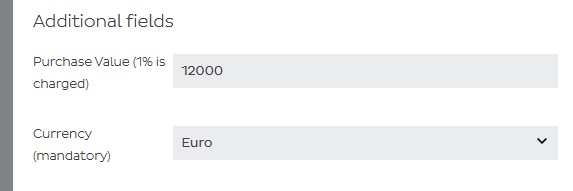
Any Additional Parcel Coverage shipment must always have the Purchase Value and Currency field filled in.
How does it work?
All shipments towards non-EU destinations are considered Rest of World (RoW). Please make sure you visit and understand our dedicated page for this.
This section will detail how it’s done specifically in DPD Shipper. Always make sure you disclose all mandatory fields as explained on our aforementioned dedicated page. Beware though: DPD Shipper will not automatically make the fields mandatory so it’s your responsibility to make sure you disclose all the required details.
First, for the receiver, we illustrate with fictional example of a receiver in Colombia, Latin-America. 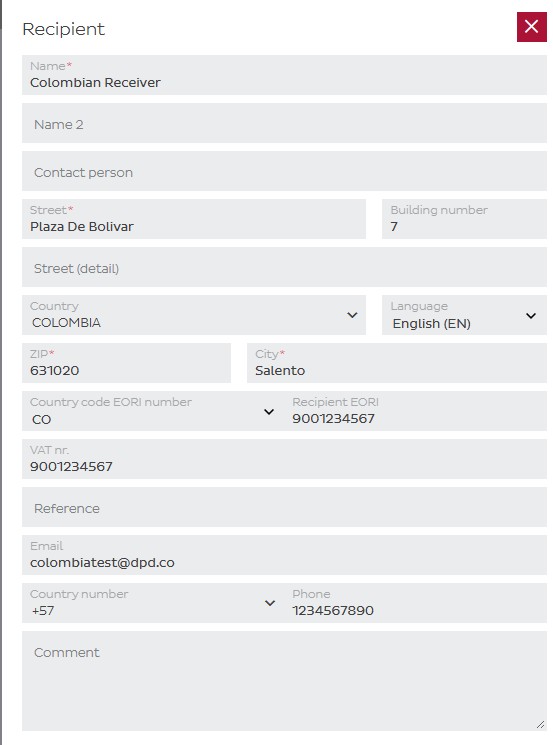
For the parcel(s), make sure the details reflect reality. The weight and dimensions need to be correct.
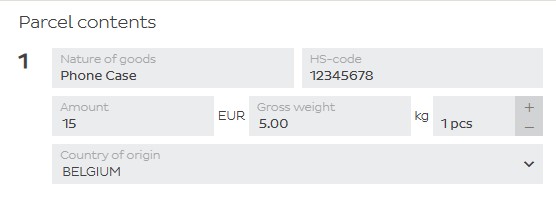
For the parcel content, we illustrate with phone cases as an example. You can send more than one item. As explained on the dedicated page, any item that has it’s own HS code, is considered a separate item.
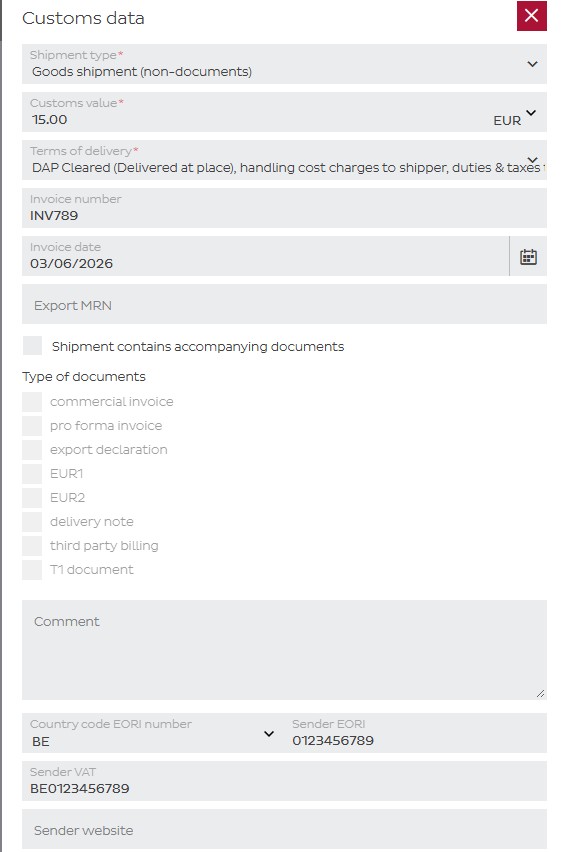
And finally, for the customs data, make sure you don’t forget any of the details. Invoice number is not mandatory, but in our example we filled it in for illustrative purposes.