Generate an address book or shipments directly from an external source such as an Excel file.
Importing recipient and shipments
-
The basics
There are two types of import: you can import addresses in your address book for later use or you can import shipments directly into the system, where each record generates a shipment. Please keep in mind the following general guidelines
- You can import from a xls, xlsx or csv file.
- The order of the columns doesn’t matter.
- Fields must be separated with pipe (|) or semicolon (;)
- Encoding must be UTF-8, Windows 1252 or Windows 1250
- Header line is strongly recommended.
- Country and language codes must be in ISO Alpha-2 format
- Zipcodes must be in the correct format. No prefixes or suffixes.
- Field lengths cannot be exceeded
For address book imports, the following fields are mandatory:
- Name
- Street (can also include the house number)
- House number (is only mandatory of not included with the street)
- Zipcode
- Country code
- Email address (optional, but necessary if you plan to use this address for B2C shipments)
- Phone (optional, but necessary if you plan to use this address for B2C shipments and didn’t include the email address)
For shipments imports, it’s similar to the address book. The following fields are mandatory:
- Name
- Street (can also include the house number)
- House number (is only mandatory of not included with the street)
- Zipcode
- Country code
- Email address (optional, but necessary if you plan to use this address for B2C shipments)
- Phone (optional, but necessary if you plan to use this address for B2C shipments and didn’t include the email address)
- Parcel weight
- Parcel dimensions
- Service code
When importing shipments, some of the values can be made fixed by the system. It will then be applied to all shipments you import. Other input is recommended, but not mandatory. Examples are references, amount of parcels, etc.
Example file:

-
Importing into the address book
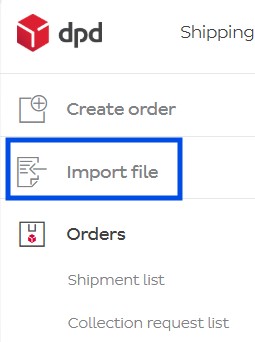
You can find an example of such a file here: Addressbook_import_example. For this guide, we will use this file. First we have to “tell” the system how to understand and import your file. We do this by creating a pattern for your file. This will tell the sytem which column corresponds to which field in the address book. For that, click in the left menu on Import file
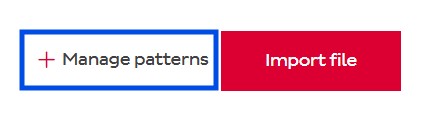
Next click on Manage patterns to the right and then Add pattern
In the pattern creation screen, you can fill in some fields:
- Name: the name you want to give your pattern. What you fill in doesn’t really matter, it’s so you can easily recognize it later. We will name ours My First Addressbook
- Import type: set this to Address book
- File type: the type of your file. In our example, it’s an Excel.
- If your Excel/CSV file has a header, check the box. In our example, it doe

Next, click on the browse button and naviage to your Excel file. The system will load your file and propose to map some of the fields automatically. If you’re not satisfied with some of the proposals, you can un-map these fields by clicking on the X-button when hovering over a field:

We usually advise to remove all proposed mappings and do it yourself entirely, to be sure it’s the way you like.
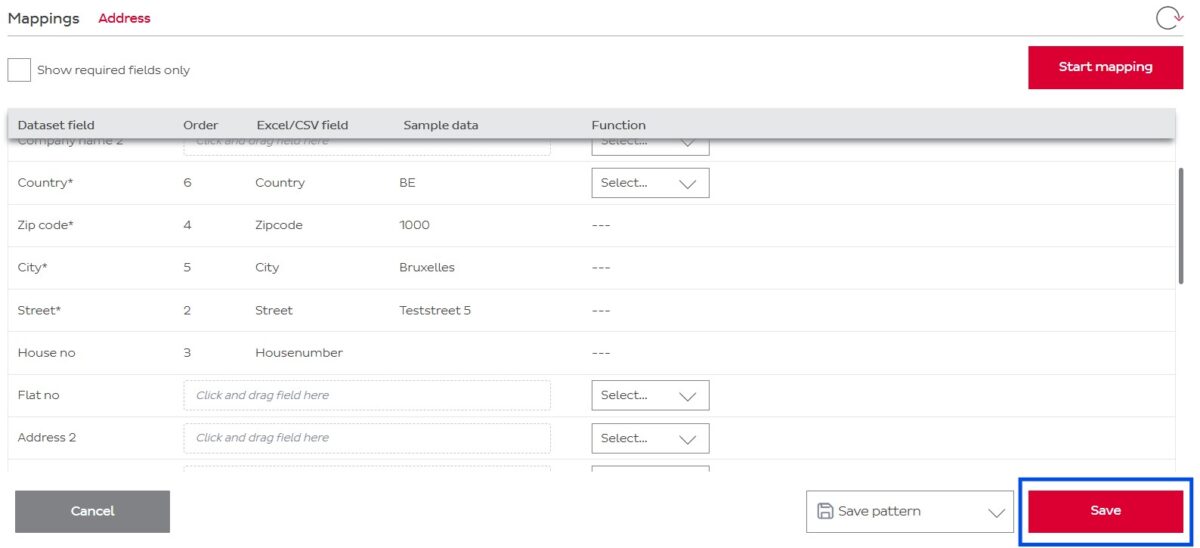
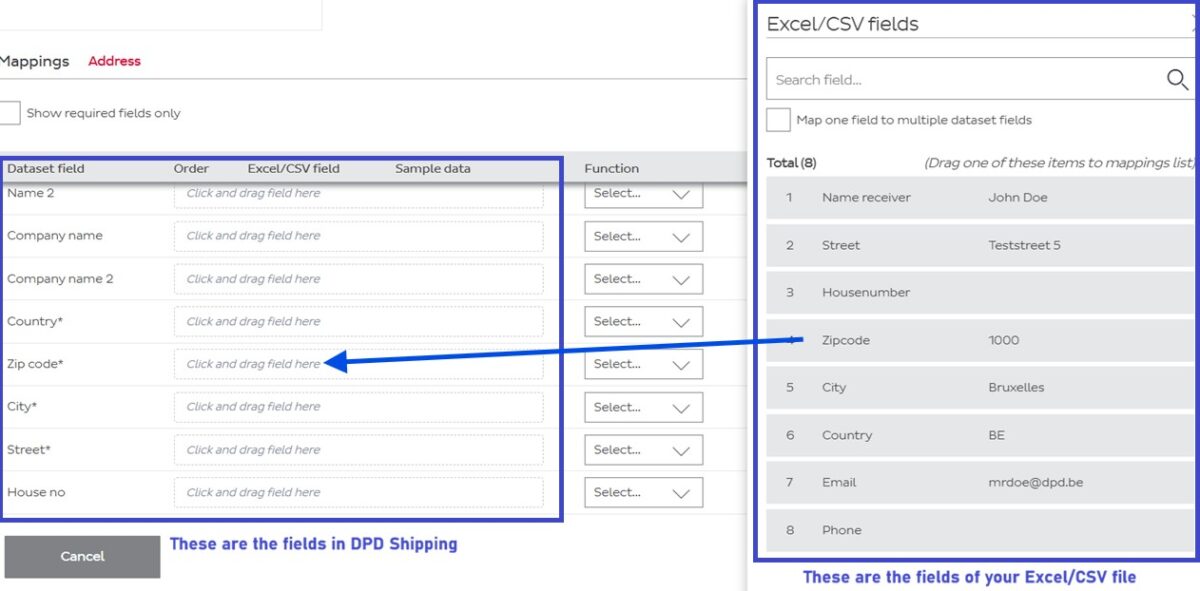
You can now click the Start mapping button to the right to start linking the fields from your file to the corresponding field in DPD Shipping. You can drag the fields from your file (the right part of the screen) into the correct fields (in the left part fo the screen). In the screenshot below for instance, we drag the zipcode column from our Excel into the Zip code field of the system:
Once you have mapped all your fields, you can save the pattern by clicking the save button at the bottom.