Create shipment labels for any kind of service.
Managing and creating shipments
-
The basics
You need to gather minimum specific information on your desired service and destination to be able to create a shipment: - Receiver name (max 35 characters)
- Receiver address (max 35 characters)
- Receiver ZIP code (max 9 characters, no spaces or symbols)
- Receiver City
- Receiver Country
- Weight of the parcel (max. 31,5kg or 20kg for parcelshop delivery)
- Dimensions of your parcel
- A choice of service or product
Preferably (or mandatory if a service requires it) you also want to add:
- Receiver email and phone
- Parcel dimensions
- Parcel references for you own convenience
- Return address
Optionally, depending on destination, you also need:
- Tax and harmonised customs info, for non-EU shipments
Most used services:
- DPD Classic: B2B shipment
- DPD Private: A B2C shipment to a private address with predict messages.
- Collection Request: Order DPD to go pick up a parcel somewhere and bring it back to you
- If you can’t find a certain service in your drop-down menu, it means you probably don’t have access to it. In that case, contact your Sales Representative.
-
Important notes
- Printing a label and the actual shipping of the parcel (handing it over to DPD) can have a maximum span of 10 working days
- Reprinting the same label with identical labelnumber for re-use is not allowed. However, you can duplicate an existing shipment to generate a new, identical one with a new labelnumber.
- Printing a label does not trigger an invoice event, handing the parcel over to DPD does, when a first depot or hub scan is performed.
-
Creating a shipment
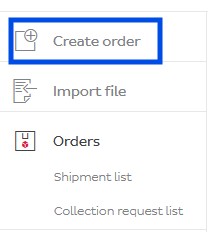
To create your shipment, click on Create order in the main menu to the left.
You will enter the main screen with all fields to fill in for your shipment. Notice how the shipment screen is divided in several sections:
- Sender
- Receiver
- Service information
- Parcel information
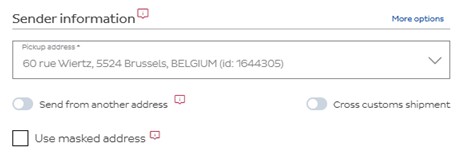
Sender:
These are the details of you, the Sender. If you have multiple sender addresses, you can select them from the drop-down list. The options send from another address, cross customs shipment and use masked address will be discussed later.
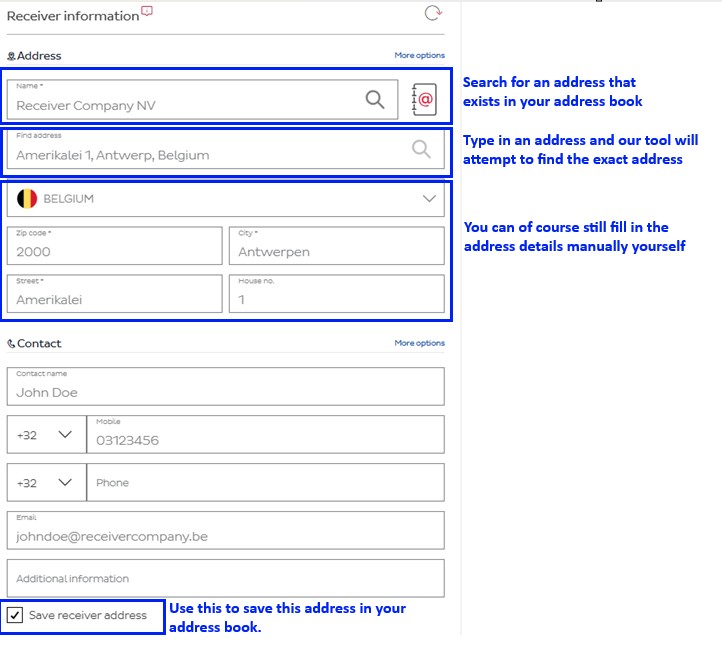
Receiver:
These are the details of the receiving party. Keep in mind the required info mentioned in point 1 of this page. You can enter the address details, which are mandatory, and the contact details. You can also use a previously saved address from your Address book. There is a handy tool at your disposal that helps you find the correct address if you wish.
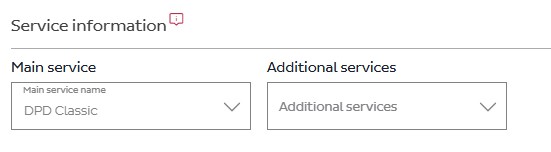
Service information
Here is where you select which Main service you want to send your shipment with. Additional services are to add certain options like Insurance or Limited Quantities, etc. You will only see the services that your account has access to. Some Main services also don’t have all Additional services at their disposal.
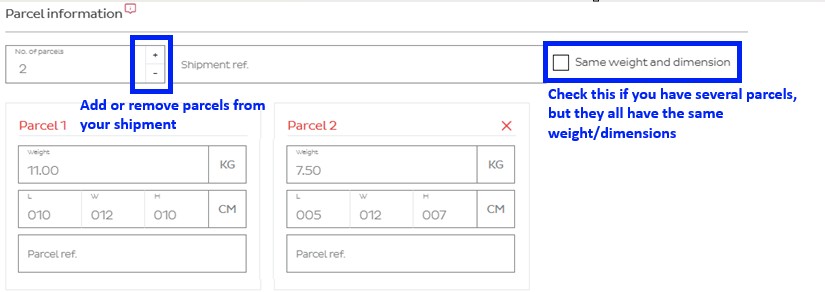
Parcel information
Here is where you describe the content of your shipment such as the weight and dimension. Please make sure the weight and dimensions correctly reflect reality. As you can see, you can add more than one parcel to your shipment and you can give your shipment and parcels their own reference. A typical example of such are your own internal invoice numbers, etc.
In our example below, our shipment would have two parcels. One weighs 11 kilo and measures 10x12x10 cm while the other is 7.5 kilo and measures 5x12x7 cm.
You are now ready to save and/or print your label using the Create button in the top right.
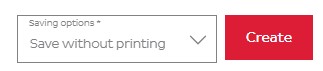
As you can see, you can choose several options:
- Save without printing: saves the shipment, but doesnt print it yet. You can print it later from the shipment list.
- Save & print label: saves the shipment and prints the label
- Save & print label, and create pickup order: allows you to save the label, print it and directly generate a request for pickup.
We usually advise to first create and print all your labels and only create a pickup order once you’re done making shipments for that day.
-
Masking your sender address
You can choose to make your real sender address be hidden from the label and replaced by another address. For that, we use the Use masked address option.

You will then have the possibility to select an address you previously saved in your Masked address book. You can only use addresses that you previously saved in this address book. More info on how to manage addresses via the Address books can be found on our dedicated page.
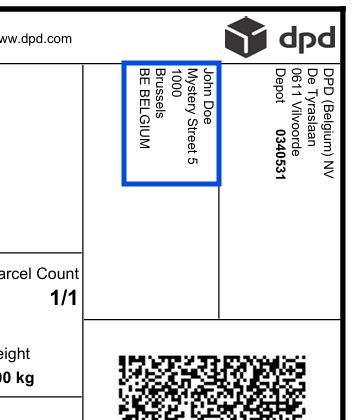
⚠️ IMPORTANT – The masked address is not the same as the Sender address. If you make a shipment with a Masked address, all it does, is a purely visual change of the address on the label so that the receiver can’t see your real address. In the electronic data DPD receives, the real sender address is used and that’s also where eventual returns will be sent to.The masked address will now appear as the Sender on the label:
-
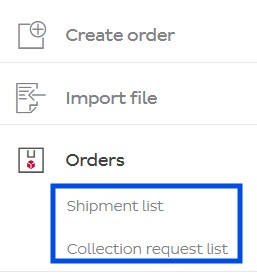
Shipment list
Your list of regular shipments or collection requests can be reached via the main menu on the left:
You will see the list of your shipments (or collection requests):
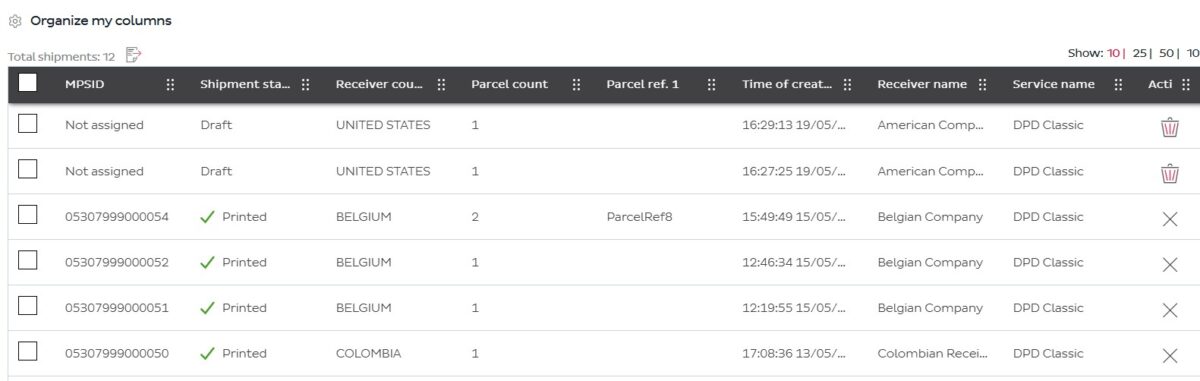
From here, you can check the boxes of one or more shipments and print them, if you havent done so already, by clicking the Print label button above the list. The selected parcels will receive a parcel number and their labels will be printed.
If you want to look for a specific shipment, or for shipments with specific details, you can use the Filters function. You will see the fields appear you can apply a filter on. After applying the conditions you want, you can click the Apply button. If you want to clear the filters, click the Clear button:

-
Service: Limited Quantities
If you have access to the Limited Quantities as an additional service, you will notice it’s only possible in combination with either DPD Classic (B2B) or DPD Home (B2C). You can have several parcels containing several different types of hazardous materials.
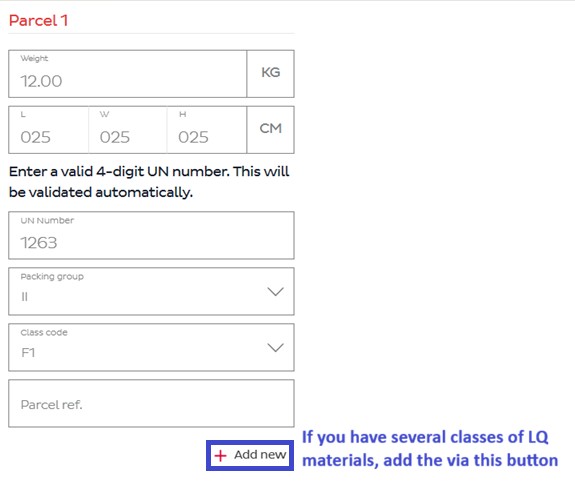
When sending Limited Quantities with DPD, you must always disclose the following values:
- UN Number. This needs to be a valid, UN-approved 4 digit value. Should you need a list of these number, they can be found on Wikipedia.
- Packing Group: the system will automatically load the possible values based on the UN number
- Class Code: here too the system will automatically load the possible values based on the previous choices
- Weight is mandatory and needs to reflect reality
In the example below, we’re sending paint, which could look like this in the tool: