This manual assumes that you have installed Magento 1.x successfully and are familiar with the basics.
Magento 1.x
-
Installing Magento 1x plugin
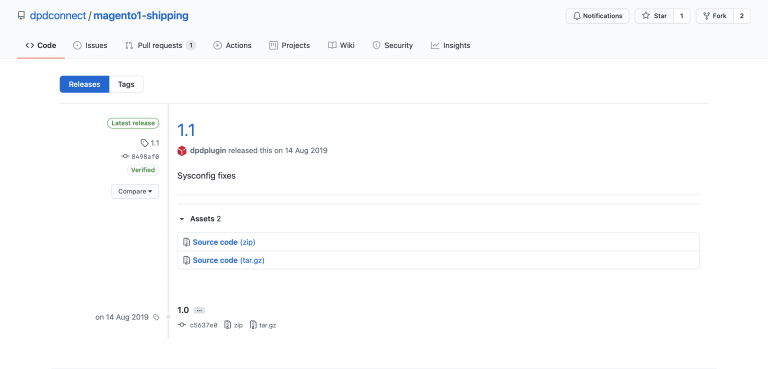
To install the Magento module go to DPD Connect GitHub > Magento1-shipping > releases and download the latest release, or click the link here and download the latest release.
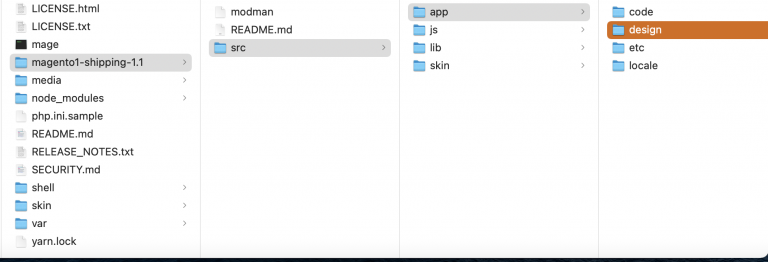
Now that you’ve downloaded the latest release file, unzip it and extract the unzipped file inside. Now to install a Magento 1 module you’ll have to extract the files inside to the corresponding locations in the Magento 1 root file, so open the Magento 1 file system in one window and the extracted folder in another window.
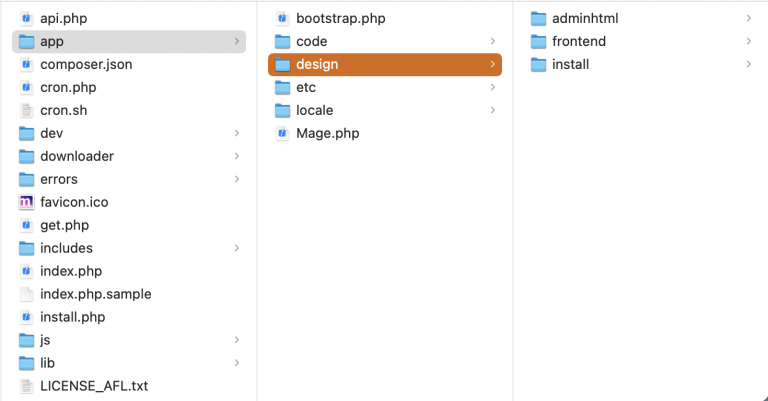
Now follow the folders inside the module & Magento folder, one by one extracting the modules files into the Magento 1 files.
Make sure you don’t press replace files! The files you extract from the module to Magento should not be replaced!
-
General Configuration
Now that the product is installed we’ll need to configure it, go to System > Configuration > Sales > Shipping settings. Here you’ll see tabs of setting that we’ll need to configure.
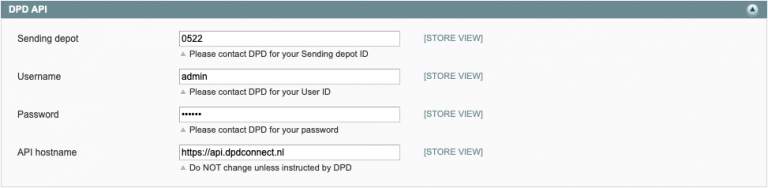
DPD API
Here we’ll need to fill in our DPD Credentials and Depot number.
DPD Shipping
Here you’ll have you fill in your address, name, paper format (labels) & weight unit, there are also two fields at the bottom of the tab ‘Vat number’ and ‘EORI-number’ these are for customs.
DPD Product attributes
here you’ll need to fill in a Harmonized System code.
Among industry classification systems, Harmonized System (HS) Codes are commonly used throughout the export process for goods. The Harmonized System is a standardized numerical method of classifying traded products. It is used by customs authorities around the world to identify products when assessing duties and taxes and for gathering statistics.
-
Configuration of Shipping Services
Now that the general configuration of the DPD module is done, we’ll need to configure the Shipping services. Go to System > Configuration > Sales > Shipping methods.
Here we need to configure the two DPD shipping methods ‘DPD Home delivery’ and ‘DPD-ParcelShops’.
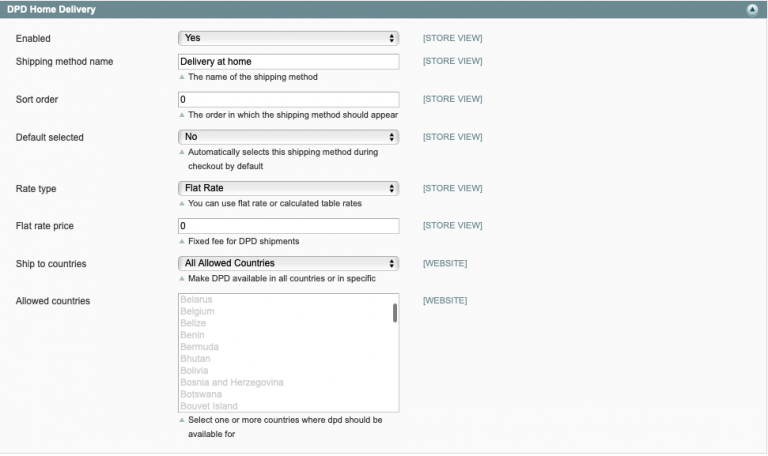
DPD Home Delivery
Got to the tab DPD Home delivery, here you can configure the shipping method. There are two important settings here ‘ship to countries’ and ‘enabled’, the enabled option is for if you want to enable or disable the shipping method.
Ship to countries is for shipping to all countries in the world or just a few specific countries, you can specify specific countries in the option below.
DPD ParcelShops
To configure the DPD ParcelShop service go to the tab ‘DPD ParcelShop’.
most of the options have been explained in the section above, except for the settings we’ll explain in this section.
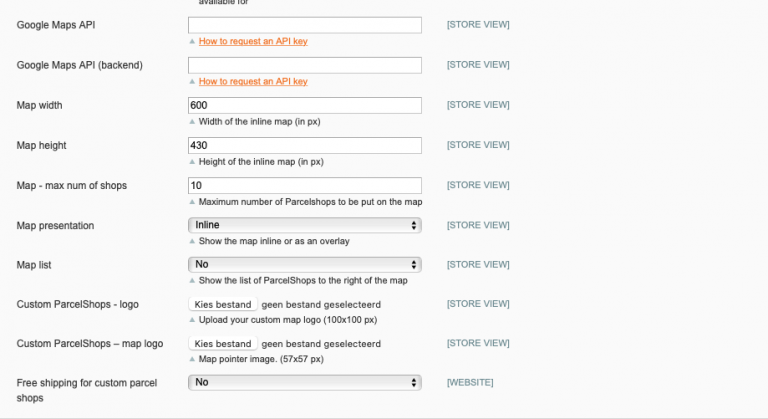
Google API keys
The settings Google API keys are for the google maps functionality of the ParcelShop service, the key is the same for both settings and can be obtained from Google.
Map Settings
- Map width – Width of the displayed map at checkout.
- Map height – Height of the displayed map at checkout.
- Max num of shops – Maximum number of ParcelShops shown at checkout.
- Map presentation – How the map is shown at checkout.
- Map list – Show a list of ParcelShops next to the Map at checkout.
- Custom logo’s – Upload a custom logo
- Free shipping – Set free shipping for this shipping service.
-
Generating labels
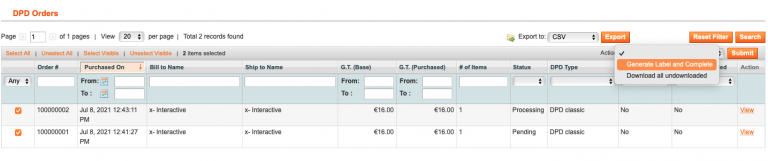
To generate DPD labels for multiple orders at once go to Sales > DPD Orders, from here you can select the check boxes of the orders you want to generate labels for.
After selecting the orders by check box(es) go to the ‘Actions‘ menu in the top right of the table, here you’ll need to select ‘Generate labels and complete’ and click submit.
Now you can download the labels by going through the same process again but instead of selecting ‘Generate labels and complete’, select ‘Download all Un-downloaded’ and click submit.